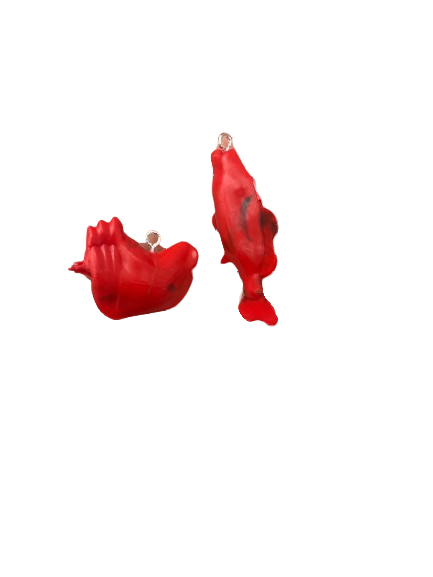
Final molded product
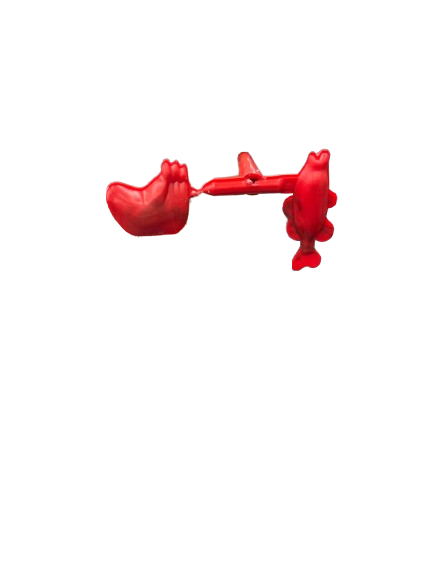
Injected plastic with runners and gates
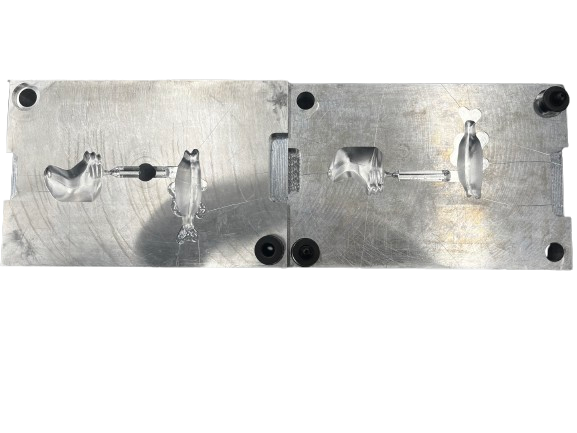
Mold made with CNC Mill
Functional requirements:
The designs must be injection molded
The mold must be made from aluminum on the CNC mill
Must be small enough to be worn as earrings
Must resemble a chicken and a bass
The design of the fish required many iterations, as it was designed with a boundary surface. Using a boundary surface allowed me to get maximum detail in the bass; however, it needed to be constrained by the smallest end mill on the CNC mill (.0625”), which required changes from the original design.
The final products met the functional requirements, as both the bass (designed by me) and the chicken (designed by the partner) resemble their respective animals and are comfortable as earrings. The mold design was created using .25” runners. The fish design utilized a .25” rectangular gate, and the chicken utilized a .0625” conical gate. The parting line was centered in each design so that, when the part is filled, the side profile is visible. Because both parts were rounded, appropriate draft angles for injection molding were achieved.
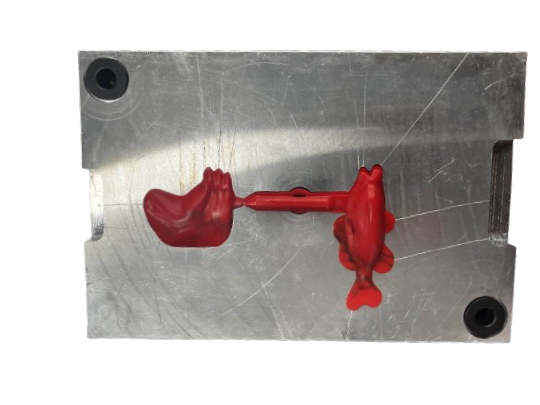
Throughout this project, I developed skills in the CNC Mill, Fusion CAM, and injection molding. This project required extensive design and CAM optimization, as we had many detailed designs that needed to be cleaned up and made more aesthetically pleasing. In this project, I learned a lot about the injection molding process from start to finish. We decided to use red polypropylene for ease of flow. First, we heated the mold to at least 120°F to allow the plastic to flow. We then clamped the two sides of the mold together within the injection molder and injected plastic for approximately 4 seconds. This led to no flashing and a very clean fill. There were a few instances in which the chicken half of the mold underfilled. This was mainly due to the gate being too small; however, once the gate was filed down on both halves of the mold and the shot time was increased by half a second, the molds filled more consistently.
Mold CAM in Fusion 360
Once the parts were injection molded, we screwed in eye hooks to allow for jewelry implementations. This was performed immediately after the parts were molded, so that the plastic would remain warm and malleable for ease of installation. From there, I attached jump rings and earring hooks to wear.
A challenge I faced during this project was working with SolidWorks surface tools. Before this project, I had limited experience with boundary surfaces, and after working with them more, I became much more comfortable manipulating their shapes. If I were to undertake this project in the future, I would use lines and arcs rather than splines to provide greater control over curve radii. Another challenge I encountered was in injection molding. The chicken was underfilling consistently, and we had to file down the gate to ensure an even fill. The CAM was also a challenge, as we had operations incorrectly reading the CAD and needed to remove material without taking a long time.